DNSwift – How to Use
Installation
| • |
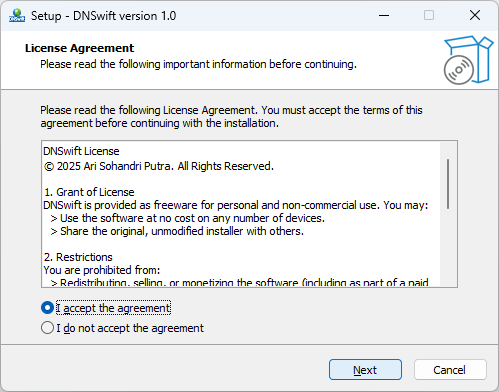
The license will be displayed. Select " I accept the agreement " and click Next . |
| |
 |
| • |
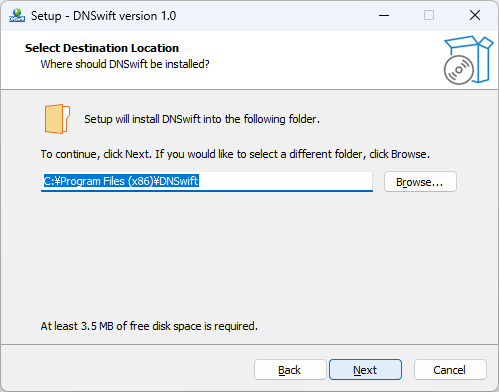
Check the installation destination and click the Next button. |
| |
 |
| • |
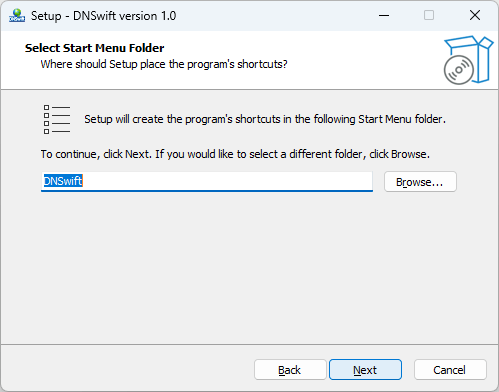
Check the settings for the shortcut to be created in the Start menu and click Next. |
| |
 |
| • |
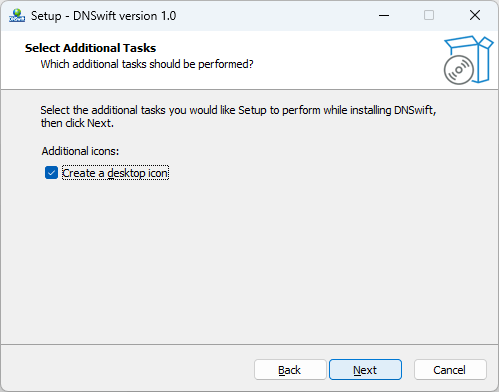
Configure any additional tasks and click Next. |
| |
 |
| • |
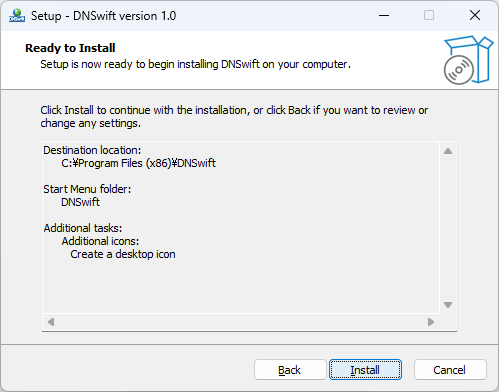
Click Install. |
| |
 |
| • |
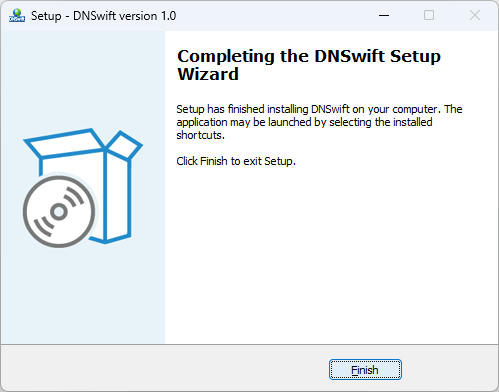
The installation is complete. Click Finish to close the setup wizard. |
| |
 |
Basic Usage
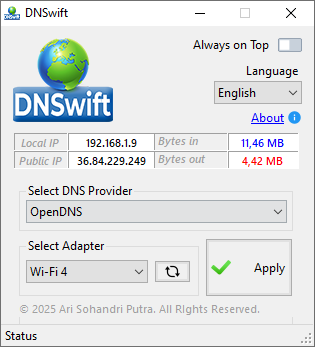
| • |
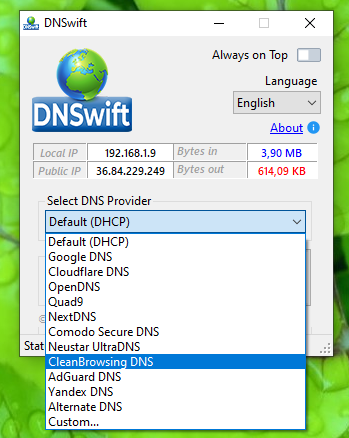
Select the DNS provider you want to use from the dropdown. |
| |
 |
| • |
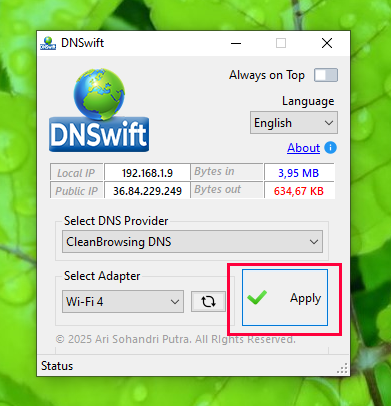
Select the network adapter you want to apply and click the Apply button. |
| |
 |
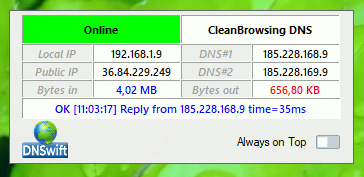
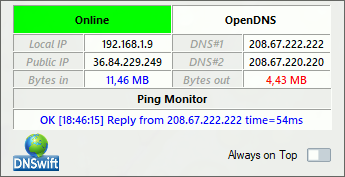
| • |
Close DNSwift, and the Traffic Monitor Widget will automatically appear in the top right corner. |
| |
 |
|
| DNSwift 1.1 Build 2025.06.12 |
| Download |
1.51 MB |
Win7/8/10/11 |
| Change Log |
- Added a Monitor Widget to monitor DNS pings and network traffic.
- Update layout position.
- Display Local IP and Public IP information.
|
| DNSwift 1.0 Build 2025.05.12 |
| Download |
1.50 MB |
Win7/8/10/11 |
| Change Log |
- First release.
|
| Screenshot |
 |
 |
| Certified: |
 |
|